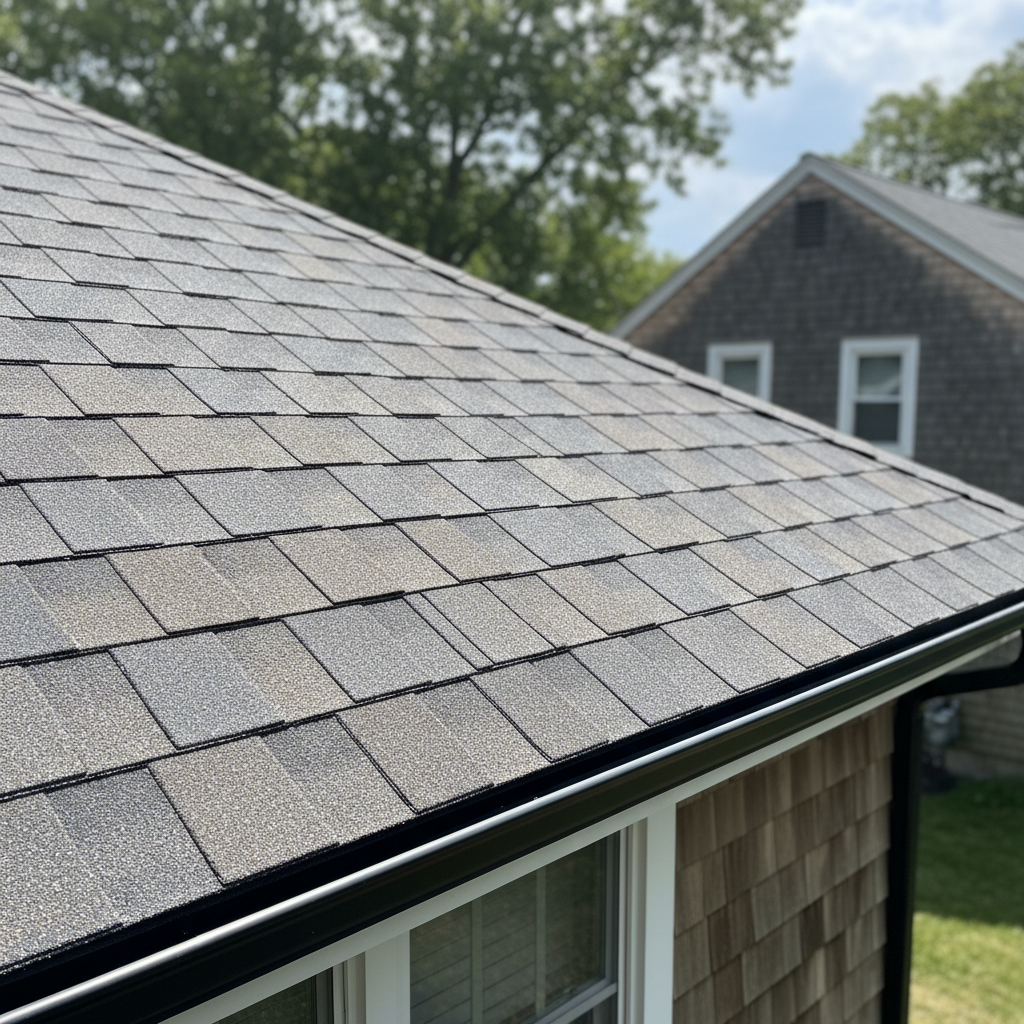
Homeowners in East Greenwich, RI sometimes walk out to their driveway on First Avenue or up in Frenchtown and look up at their roof. Most residents in East Greenwich only look at their roof when a Nor'easter rolls in off Narragansett Bay and water starts leaking inside. Waiting for a leak to indicate a problem is a very expensive mistake.
A homeowner does not need a harness or a degree in engineering to keep track of their roof shingles. Champion Roofing & Siding suggests a systematic approach to handle a roof check before, during, and after climbing a ladder or staying safely on the ground.
Before You Start: Safety and Prep
Homeowners should pick a dry and calm day for an inspection. Coastal Rhode Island winds can kick up out of nowhere, and a sudden gust can easily catch a ladder while a homeowner is clearing leaves off a cape-style roof in East Greenwich.
A pair of binoculars should be used to walk the property line first. Missing shingles, sagging gutters, and cracked chimney flashing can be spotted from the lawn without ever leaving solid ground. If a ladder is used, make sure the ladder is on level ground and get someone to spot you. At Champion Roofing & Siding, our team sees too many do-it-yourselfers take nasty falls because they skipped securing the base.
During the Check: What to Look For
Start with the easy inspections from the ground. Look at your roofline. Does the roofline dip or sag in the middle? That usually means decking issues, and roof decking issues are not going to fix themselves. Check your yard for granules piling up near your downspouts. When asphalt shingles start shedding heavy amounts of grit, those asphalt shingles are reaching the end of their useful run.
If you are comfortable getting up on the roof or checking from the eaves, look closely at the vulnerable spots:
- Flashing around chimneys, skylights, and plumbing vents where seals dry out and crack.
- Moss and algae growth, which traps moisture against the shingle surface, especially on heavily shaded lots near the local woods.
- Curled, cracked, or missing shingles that let water straight through to the underlayment.
Head inside your home, too. Grab a flashlight and look up into the attic. Look for daylight filtering through the roof boards, dark water stains on the rafters, or damp insulation.
After the Inspection: DIY vs. Pro
Once you have a handle on what is going on up there, you have to decide what to tackle yourself. Clearing out clogged gutters, pulling off loose overhead branches, or brushing away light moss is totally fine for a Saturday morning project. You can also caulk small areas of exposed flashing if you know what you are doing.
Everything else belongs on a professional to-do list. If you find widespread shingle damage, soft spots in the plywood roof deck, or flashing that is completely rusted away, leave it alone. Messing with structural fixes or trying to patch complex roof valleys usually makes the damage worse and voids whatever manufacturer warranties you have left.
Take a good look at your roof twice a year, especially after winter thaws and hurricane season in East Greenwich. Catching a small leak early keeps your home dry and your repair bill manageable.